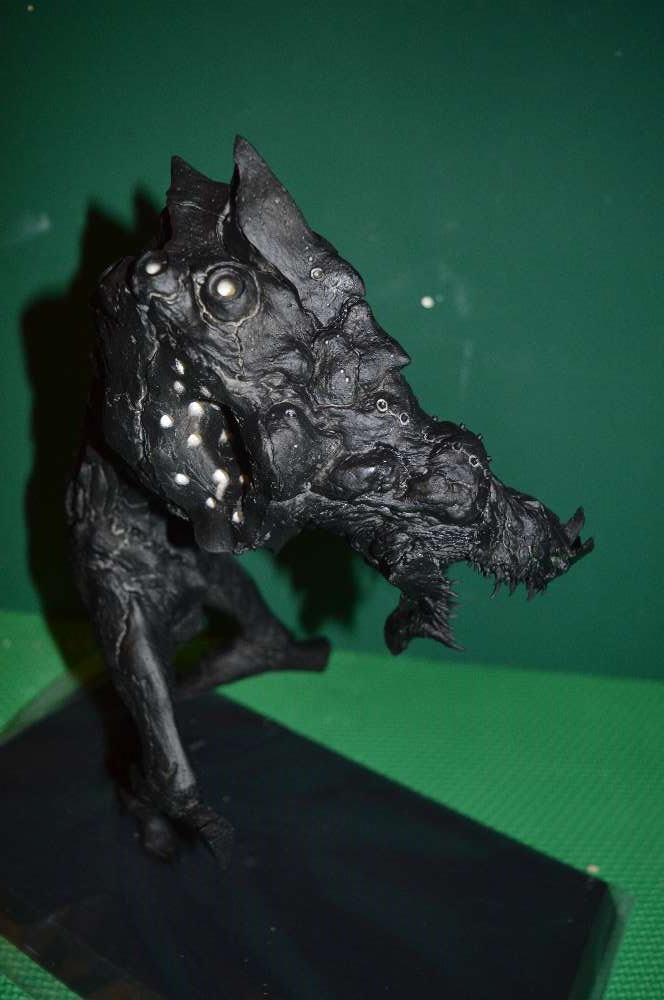
Evangelion Resin Kit Review – Eva-02 The Beast
"The most impressive and fun to build GK I've found"
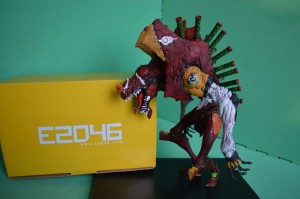
/5 Reviewed by Adi MursecThis garage kit represents everything I love about resin kits, art, manga, anime and giant super robots. From the pictures I saw of this model I thought it was a bit too intimidating to start building, I thought I can’t do that. But I finally gave in and bought the Evangelion Eva-02 The Beast garage kit from the only store I could find it on, e2046.com. Over the last year I’ve seen it come up on ebay once or twice but they usually go for about $600 compared to the $85 e2046 are selling it for at the moment.
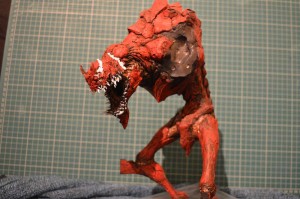
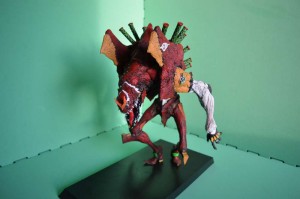
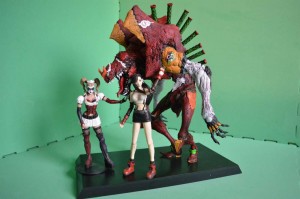
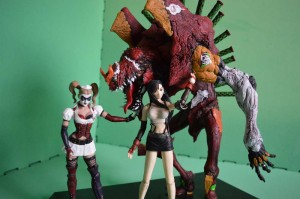
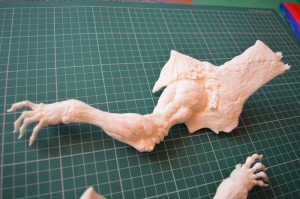
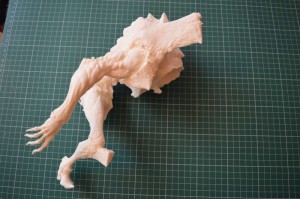
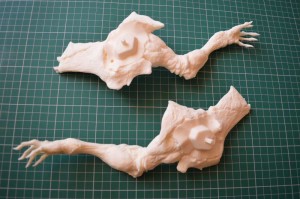
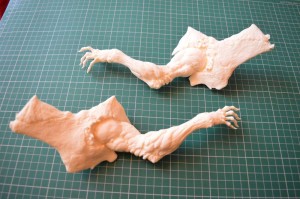
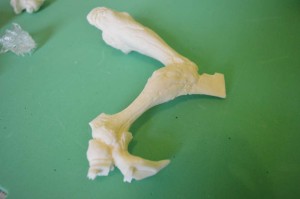
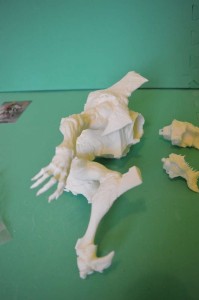
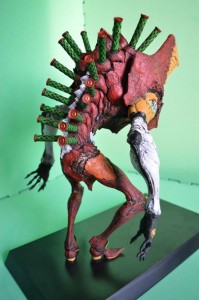
When I’ve seen garage kit statues in the past they are usually designed in a certain way to keep them easy to cast in resin and make them sturdy etc. This one breaks most of the rules. Firstly it’s huge weighing about 2kg which mainly goes in the big torso and massive arms. It’s also very top heavy when you consider it’s made out of resin. Usually toys and statues are weighted more at the bottom to make them stand up. The Beast by name and nature is very well designed, I’m not sure how they did it but they made it so those skinny legs could support all the weight of the upper body without a problem.
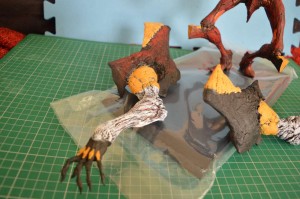
One thing to note is this model doesn’t come with a base but you can pick one up pretty cheap or make your own. I’ve bought a Tamiya one online and attached The Beast to it with four screws, two in each foot to keep it study.
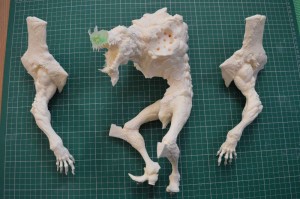
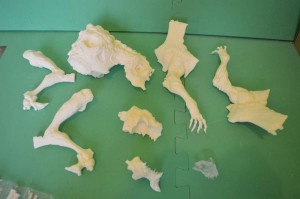
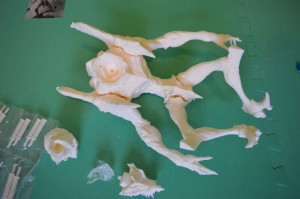
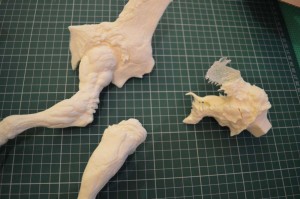
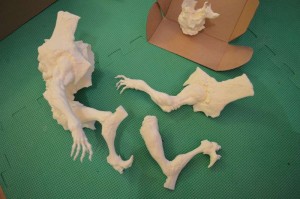
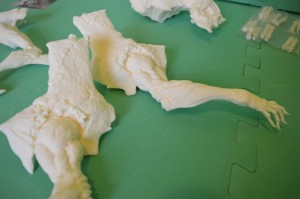
When this kit arrived I spent the first week or two just playing with the parts and trying to imagine how to assemble and paint it the best way. I don’t think there is any right or wrong way to putting these kits together as long as you have fun but for me it went through a few stages.
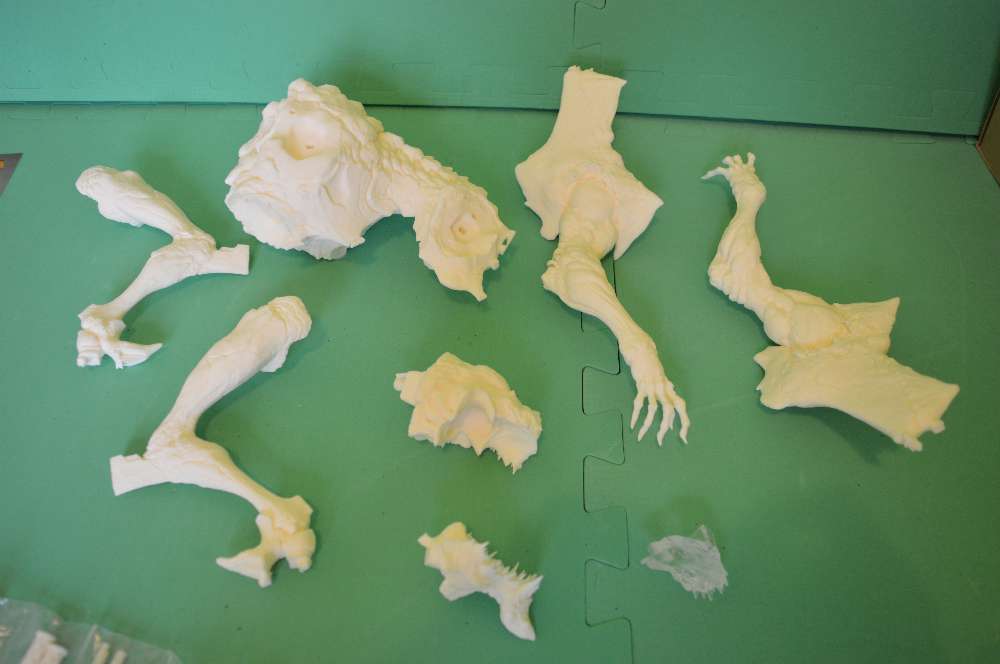
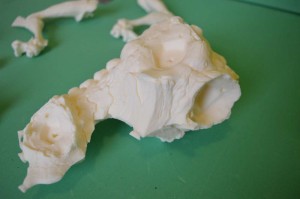
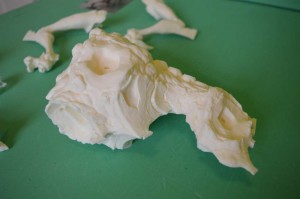
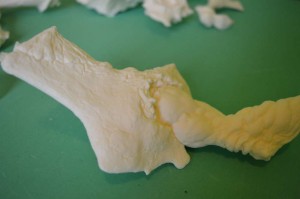
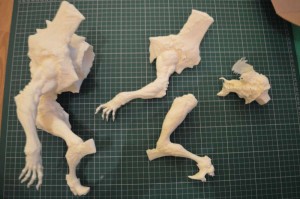
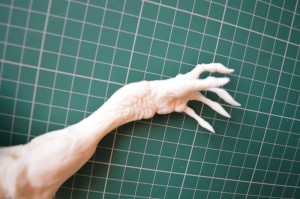
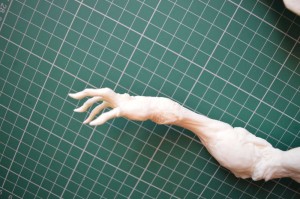
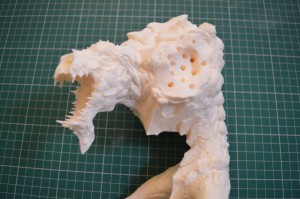
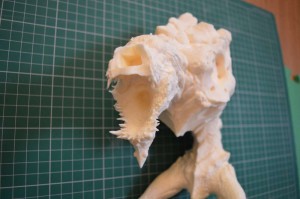
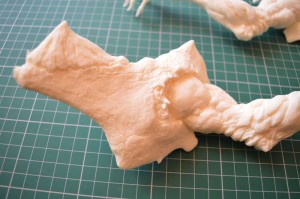
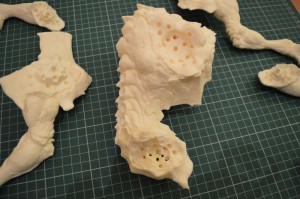
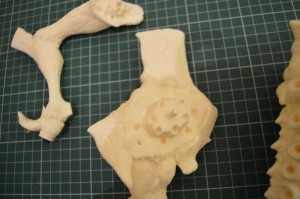
First I checked all the parts would fit together. With resin kits they aren’t moulded perfectly like plastic toys. This means you may have to cut off excess pieces from the casting process and sand down bit’s to make them sit flush. Compared to other resin kits there are very few bits which needed tidying up. Most of the smoothing out between parts is done with putty when they are attached.
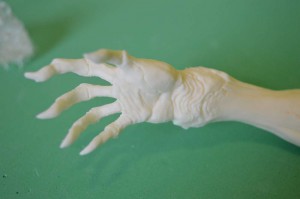
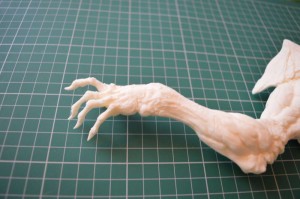
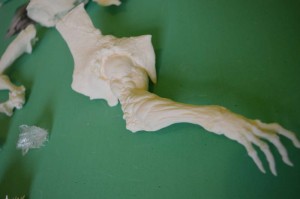
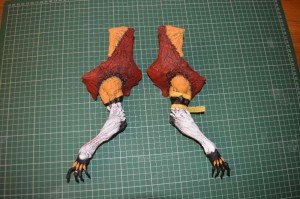
The second stage was coming up with a way to attach the legs and arms, both the shoulders and hips needed to support a lot of weight. Usually a lot of model builders would use pins to hold the weight but I decided to drill lots more holes into the joining areas. This was to give the epoxy putty somewhere to go so it they could be attached flush and also give the epoxy putty a lot of grip. Now it’s finished they are attached so tight it feels like one bit piece of resin. The Epoxy putty I used is the fine white Millyput which is available in most model shops.
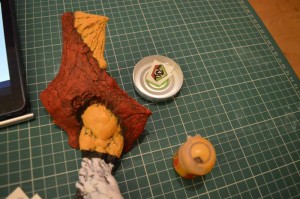
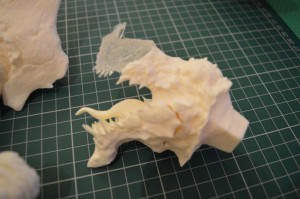
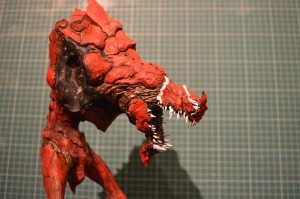
At first I attached the neck and legs but to give it a smoother finished I painted it all before attaching the arms. This was to give me more room to paint the detail. I think picking the order to paint ans assemble is key to blending in the seams. The head comes in about five parts alone and you wont want any gaps showing up.
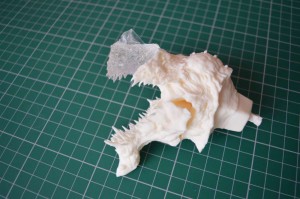
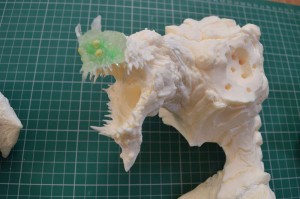
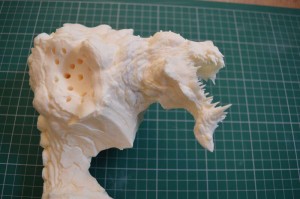
The head comes with a clear piece of resin for the eyes. I contemplated adding an LED for about three to four weeks but couldn’t find a way to store the battery unless I hid the wires somehow and put batteries in the base. I really wanted the eyes to light up as they were clear piece of resin.
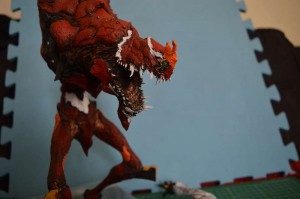
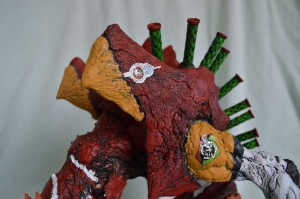
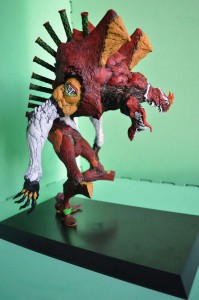
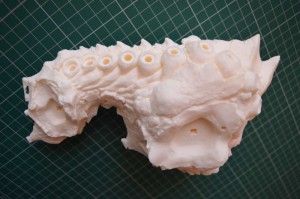
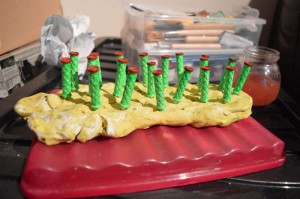
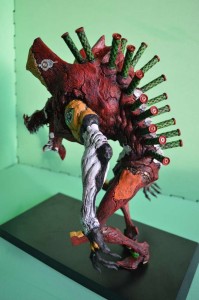
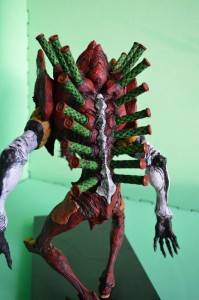
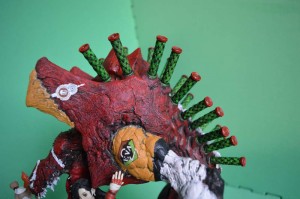
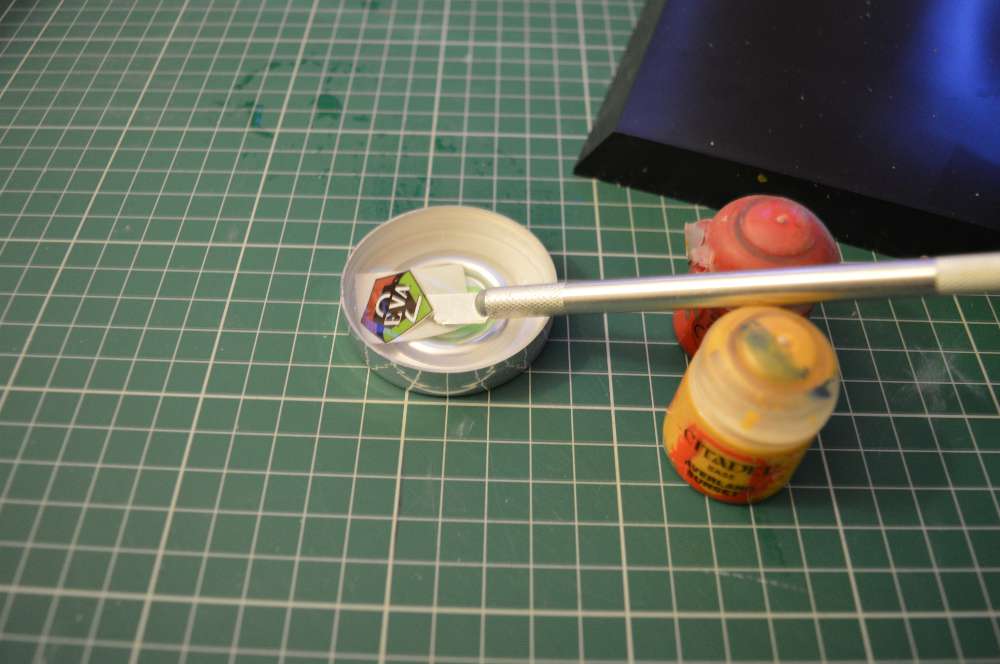
The final solution I went with was to drill out the inside of the head as much as I could without risking drilling right through. Then I painted the inside with green glow in the dark nail polish. I could have tried normal glow in the dark paint but the nail polish was cheaper and had a really strong glow.
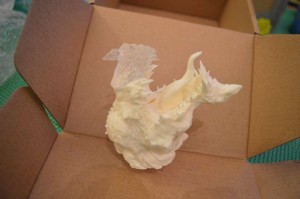
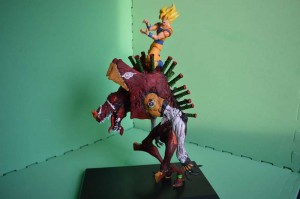
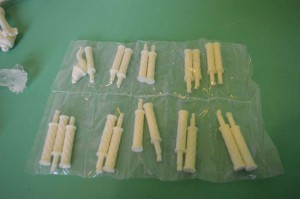
You can’t see it in the pictures but there is a bit of a glow still and the final effect might be better without an LED. I also used the glow in the dark nail polish on the pipes down his back. I then used a dark wash paint which darkened the green and filled in the tiny gaps to highlight the detail. This was a bit of a time saver as painting all the tidy detail on those pipes could have taken weeks alone and would have been repetitive as there are about twenty of them.
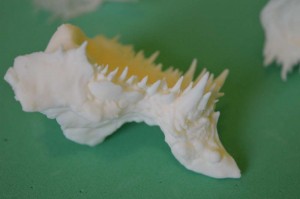
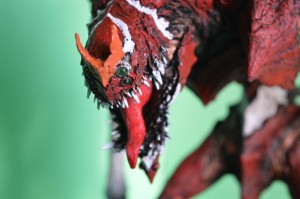
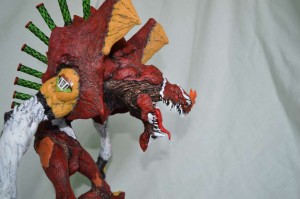
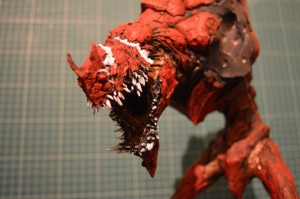
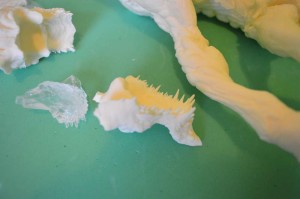
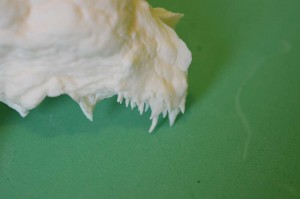
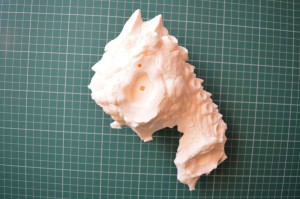
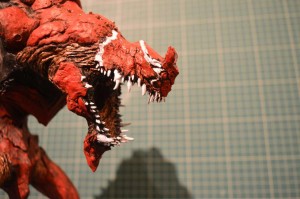
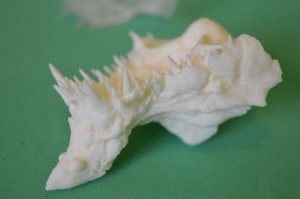
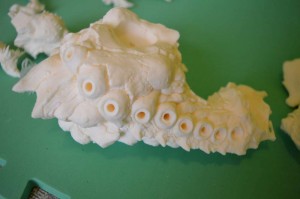
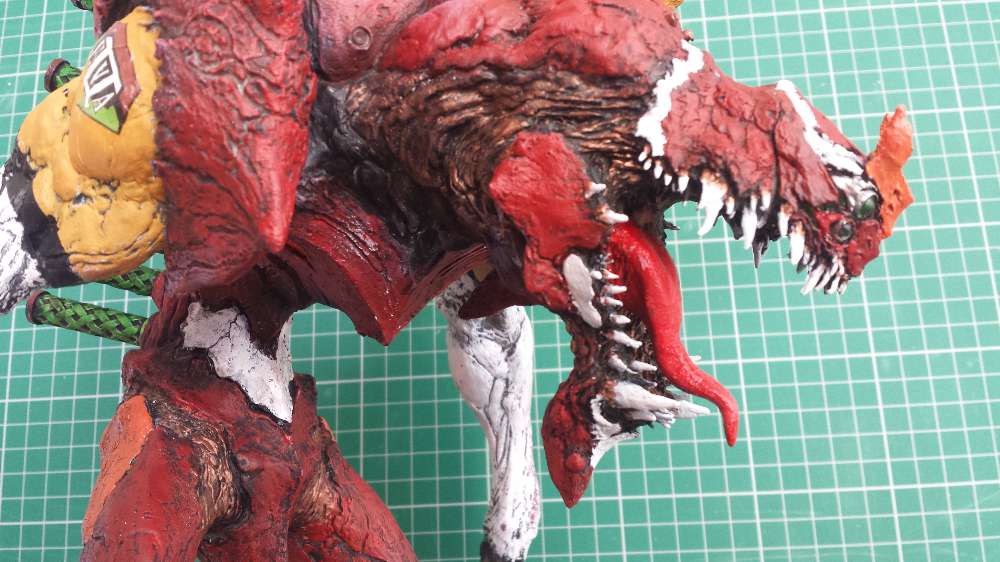
While putting the head together the hardest bit was keeping the teeth in tact, they are one of those beautiful pieces of detail on the kit as there are loads of them and a few stick out and are fragile.
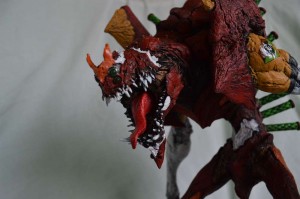
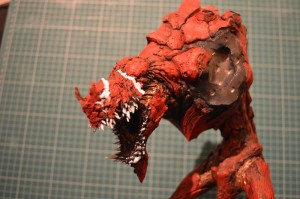
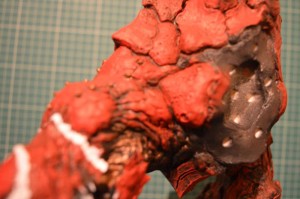
Compared to a lot of robot kits which require more of a perfect smooth finish this one is obviously a bit more organic. There isn’t a flat piece on it and I think that helps you keep it looking professional. If there is a bit of colour out of place here or there you wont notice it as much as you would on a Gundam model.
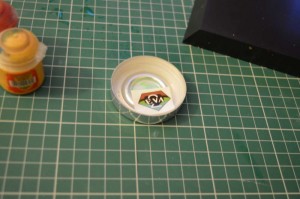
Before painting resin kits I always wash them in slightly soapy water. This is to take off any chemicals and releasing agent they use when casting the kit. It will also take off any grease that stuck to it from your fingers or dust from sanding and drilling. It’s something I read about when first researching how to assemble these kits and it’s something I’ve done with each one.
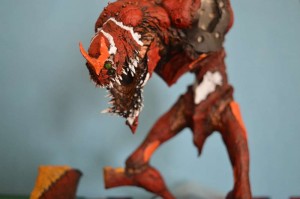
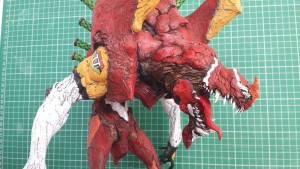
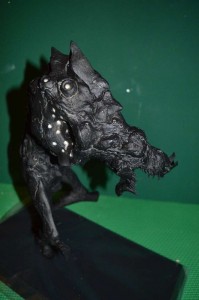
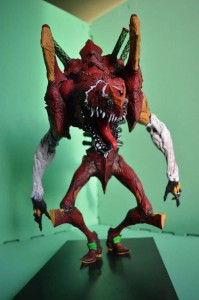
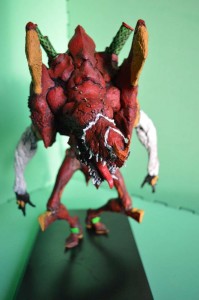
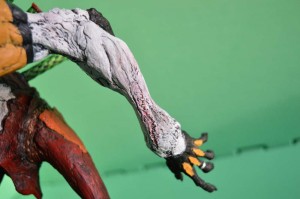
When it came to painting I wanted to go with darker colours to give it a more menacing look. This came from a black primer coat which I painted the parts with after masking off the eyes. With a good base layer in place I didn’t want to ruin the model with a lot of heavy solid color so most of it was dry brushed but just dipping a brush in paint, wiping most of it off and then dabbing and sweeping it over the parts lightly so a little paint comes off at a time. By doing this I was able to highlight parts and keep the black under under coat on show in the small gaps.
The main paints I used were from Games Workshop:
- Abaddon Black – Base coat and some detail
- Mephiston Red – red bits
- Ceramite White

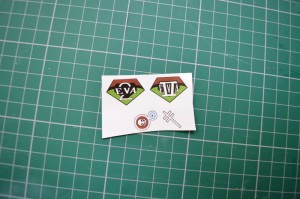
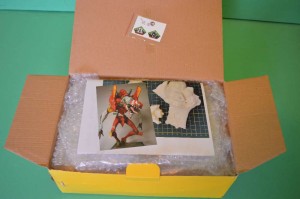
For the finishing touch the kit comes with a water slide decal sheet which are easy to apply. Just cut them out of the sheet and leave them in some shallow water for 30 seconds to a minute. You will know when they are ready to be applied when they slide off the card they were attached to. Careful with them once they do come off the card as they are very delicate and will stick to anything. Just make sure the surface they go on is smooth. Once you put them on you can position them a little by sliding them side to side.
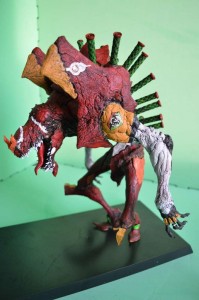
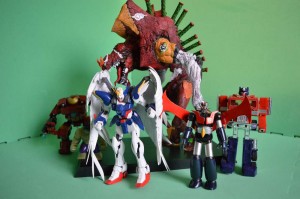
One thing I love about making garage kit is the detail and how you get a chance to appreciate every square millimeter of it while you paint it, This kit is really a piece of art both creatively and technically. It’s a beautifully sculpted kit and with it being front and top heavy when you finally get it on a stand it looks so impressive. If you’ve got it on a shelf with other models this one will stand out way ahead of any other.
I’d highly recommend this kit for anyone from beginner to expert. I’ve only made a few garage kits in the past but was really happy with how this one turned out. If you’re new to making these kits just take your time and enjoy the building process. If you’re more of an expert level you will also get a lot of fun out of this kit just out of how original it is. The size is mega impressive and there is just so much detail. Now it’s finished I almost want to order a new one and go through the whole building process again.
To see the assembly of a few other resin kits take a look at the Great Mazinger statue or the articulated Robot King. To pick up this kit take a look at e2046.com, they will probably either have it in stock or pre order for the next batch in a few weeks.
Posted by Adi Mursec on April 10, 2016